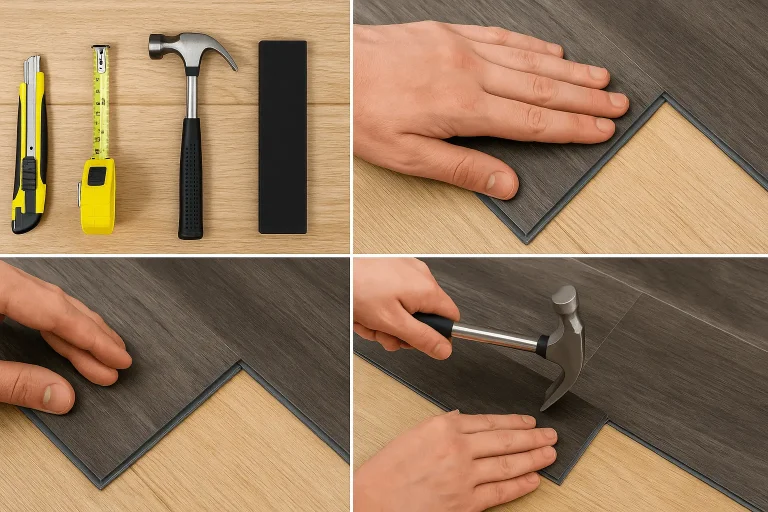
How to Patch a Hole in Drywall
The most common issue found in homes is Drywall damage is, especially in busy areas like hallways, living rooms, and bedrooms. Accidents happen, whether from furniture bumps, door handles, or minor water damage, your walls look rough and unfinished because of these holes. To learn how to patch a hole in drywall can save time and money, especially when the damage is small and easy to reach. It’s not as hard as it may seem, fixing it yourself can make your wall look new again.
Identifying the Size and Type of the Hole
The first thing to do when repairing drywall is to check the size of the damage. Tiny holes, like those caused by nails or screws, can be handled quickly with simple tools. Medium-sized holes that are a few inches wide may need a patch to hold the joint compound in place. Larger holes, especially those over six inches wide, might require additional support behind the wall so the patch holds up over time.
Choosing the right method and materials become easy when you know the size of the hole. For example, a small hole can be fix only with some spackling paste, But a larger hole will need a mesh patch or a piece of new drywall. Also take time to check the area around the hole. If there are cracks or loose pieces, before the repair can begin they will need to be cleaned up.
Prepping the Area for Repair
Once you know what kind of repair you need to make, preparing the area is the next step. Start by removing any broken pieces of drywall, dust, or paint flakes from the hole. The cleaner the area, the better the materials will stick. For medium and large holes, use a utility knife to shape the hole into a neat square or circle, which makes it easier to patch evenly.
It’s also helpful to lightly sand the edges of the hole. This removes any roughness that might prevent the patch or compound from sticking properly. Once the sanding is complete, use a dry cloth or vacuum to clear away any dust. A clean surface is essential to ensure the patch holds up without peeling or cracking later.
Choosing the Right Materials
Different types of repairs need different tools. Small holes can usually be filled with spackling compound or lightweight joint compound. A putty knife helps spread the compound smoothly over the hole and keeps the surface level with the rest of the wall. For holes that are more than an inch wide, you’ll need a wall patch kit, which includes a mesh or metal patch and everything else needed to cover the damaged area.
Larger holes will require a piece of new drywall. This piece must be cut to fit the space precisely. You may also need wood strips or backing boards placed behind the wall to hold the new drywall in place. Once the patch is secured, joint compound is applied around the edges to blend it into the wall. After drying, sanding makes the surface smooth and ready for paint.
Applying the Patch and Finishing the Surface
After the area is prepared and the right materials are ready, you can begin the patching process. For small holes, apply a small amount of spackling compound directly over the hole using a putty knife. Press firmly and smooth the surface so it blends in with the surrounding wall. Let it dry fully before adding another layer if needed. After the final coat has dried, sand the area gently until it feels even.
In the case of a medium hole, place the mesh patch over the opening and apply joint compound over the top. Use wide, even strokes with the putty knife and extend the compound slightly beyond the edges of the patch. Let it dry fully before sanding. You may need a second coat to fully hide the patch. Once the final sanding is done, wipe away dust and prepare to paint the wall so it matches the rest of the room.
For larger holes, after attaching the new drywall piece securely to the wall structure, apply joint tape over the seams where the patch meets the original wall. Then spread a layer of joint compound over the tape and the edges of the patch. Allow it to dry, then sand it smooth. Like other repairs, this process may take several coats of compound and a few rounds of sanding to make the patch invisible.
Painting the Patched Area
Once the surface is smooth and fully dry, it’s time to paint. To get the best result, apply a primer over the patch first. Primer helps cover any lines or color changes between the new patch and the old wall. After priming, use the same paint color and finish that was already on the wall. For the cleanest look, it’s helpful to blend the paint a little wider than just the patched area. This makes the fix less noticeable and helps the repair blend into the surrounding space.
If you don’t know the original paint color, take a small paint chip to a home improvement store. Many stores can match the color for you. If the wall hasn’t been painted in a long time, consider repainting the entire wall for a more even appearance.
Final Tips for a Clean Repair
Patience is important during the process. Rushing through the steps can lead to a rough finish or peeling paint. Always let each layer of compound or paint dry completely before adding another one. Sand lightly and carefully to avoid creating dips or marks on the wall. If needed, practice on a spare piece of drywall or an out-of-sight area first to build confidence.
Understanding how to patch a hole in drywall is a helpful skill for any homeowner. Small fixes can be done quickly, while larger holes require a little more time and care. Either way, the process becomes easier with each repair. A well-patched wall looks cleaner, adds to the value of your home, and avoids the cost of hiring outside help. Once you learn the steps, you’ll be able to handle most drywall repairs on your own with simple tools and a steady hand.